Getting Started on Tapas
Creating a Series
Step by step tutorial
Thinking about joining our community of creators and sharing your first series with the world? You've come to the right place! Posting on Tapas is simple, so you can focus on developing your story and creating your characters.
On Tapas, you can post novels and comics. Keep reading for a step by step tutorial on how to set up your series.
Step 1: Create
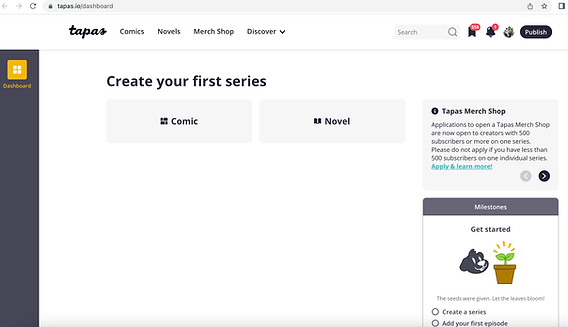
Click button to visit your creator dashboard and begin setting up your series. Alternatively you can also use this link.
Select Novel or Comic.
Experienced creators: Select "New Series".

Step 2: Title
Enter a name for your series! We recommend the name to be unique, memorable and easy to spell and pronounce!

Step 3: URL
Tapas allows you to enter a unique URL for your series! Most creators use the series title here.

Step 4: Description
Entice, not summarize! Enter an interesting short description for your series! This description has a great impact on convincing someone to read your series, so write it in a way that hooks readers without spoiling your story! This should be 1 to 2 paragraphs long and provide enough details for a reader to understand what’s going on. Avoid vague sentences like “A girl's journey to meet her true love…” and think about what makes a reader feel like they just have to read this story immediately instead! Take a look at some of our premium series for more examples:
Positively Yours
Latna Saga: Survival of a Sword King
Beware the Villainess!

Step 5: Thumbnail and Book Cover
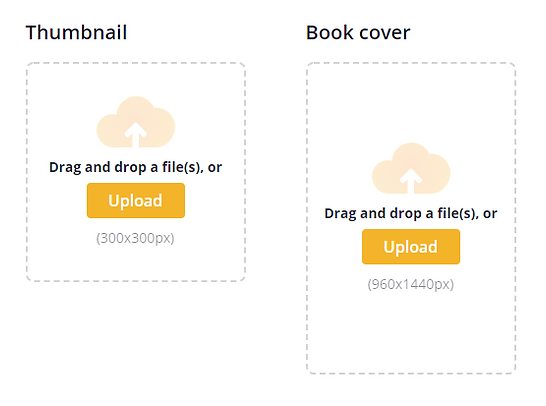
Your series will need both a thumbnail and a Book Cover. You can generally use the same art, but the Book Cover should have your series title on it. This artwork must be safe for all ages, and shouldn’t contain nudity or suggestive art.
Thumbnail: 300 x 300 px, PNG, JPG or GIF, Under 2 MB
Book Cover: 960 x 1440 px, PNG, JPG or GIF, Under 2 MB

Step 6: Series Banner and Custom Ad Banner (Optional)
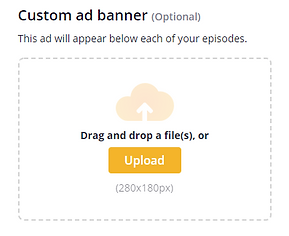
You may add a series banner and an ad banner! In the Series Banner Link and the Custom Ad Banner Link sections, you can also add links that lead to a site of your choice, like your social media or support sites. The ad banner will appear at the end of each posted episode. This artwork must be safe for all ages, and shouldn’t contain nudity or suggestive art.
Series Banner: 1280 x 460 px, PNG, JPG or GIF, Under 2 MB
Custom Ad Banner: 280 x 180 px, PNG, JPG or GIF, Under 2 MB


Step 7: Genres and Tags
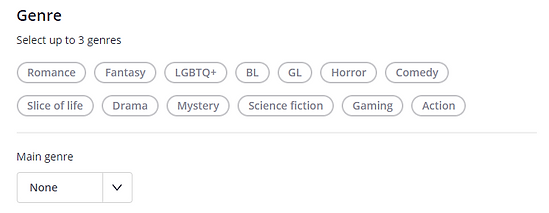
Select three genres and then pick the main genre in the dropdown menu. Your series will be listed under the main genre. (Genre list may slightly differ for novels or comics.)

Optionally, you can also add Tags to your series which will help readers and staff find your series more easily. They can give more insight on what your series is about.
Step 8: Episode Order
You can choose the order in which first time readers will see your series. (Returning readers will return to the same episode where they last left off reading and aren’t affected by this setting.) Turning on descending order is especially beneficial for short gag comics that have no continuing story. For long form comics that have an ongoing storyline we recommend not using this feature.

Want to learn more?
Check out our other tutorials for new creators!


